Language
  English
 中文简体
中文简体 عربى
عربى
Content
- 1 What Is Self Adhesive Velvet Fabric?
- 2 Why People Are Switching to Adhesive Velvet Fabric
- 3 Popular Uses for Self Adhesive Velvet Fabric
- 4 How to Apply Self Adhesive Velvet Fabric Step by Step
- 5 Self Adhesive Velvet Fabric vs Traditional Velvet Fabric
- 6 How to Choose the Right Adhesive Velvet Fabric
- 7 Common Mistakes to Avoid
- 8 Caring for Surfaces Covered in Self Adhesive Velvet Fabric
What Is Self Adhesive Velvet Fabric?
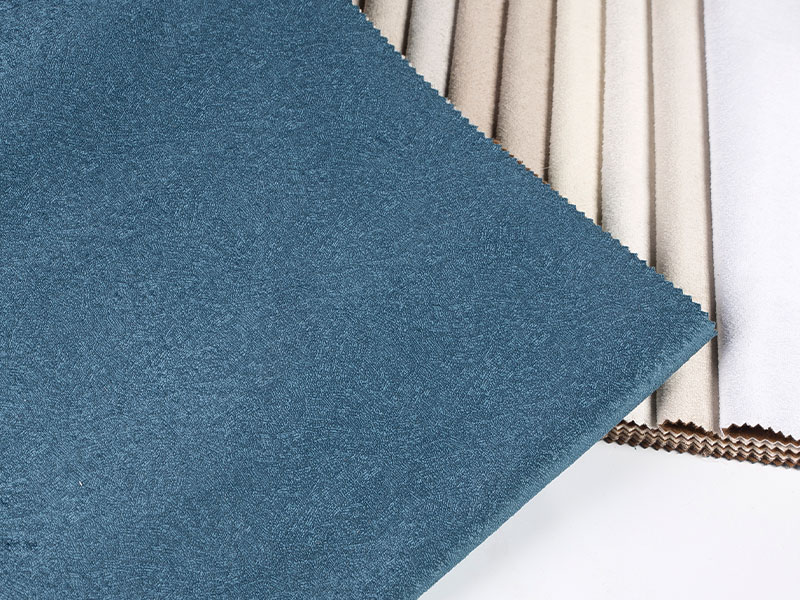
Self adhesive velvet fabric is a soft, plush textile that comes with a pressure-sensitive backing already built in. Instead of reaching for glue, spray adhesive, or a needle and thread, you simply peel away a protective paper layer and press the fabric directly onto a surface. The velvet layer itself is usually made from flocked polyester or nylon fibers, which gives it that signature soft, slightly fuzzy texture, while the adhesive layer underneath is engineered to bond firmly to wood, glass, metal, plastic, and cardboard. Because the sticky backing is already integrated into the material, self adhesive velvet fabric has become a favorite shortcut for anyone who wants a luxurious, upholstered look without the mess or skill required by traditional fabric application methods.
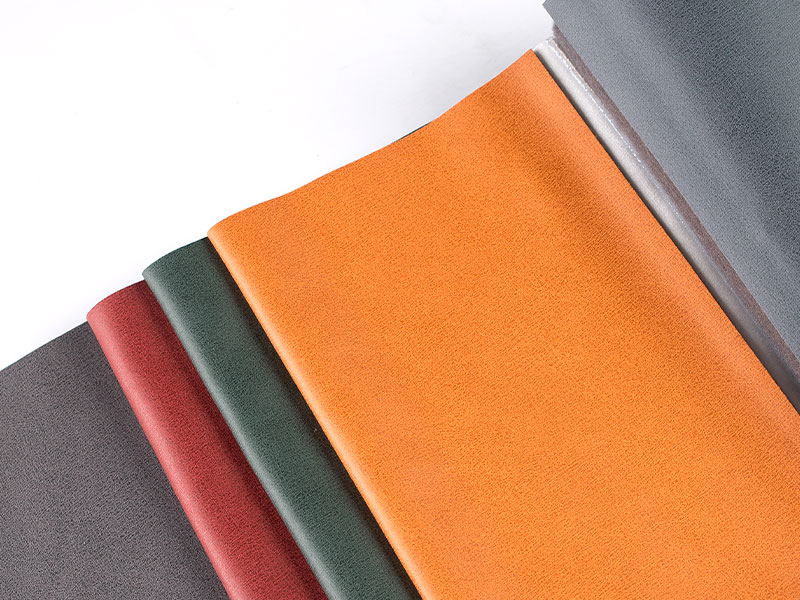
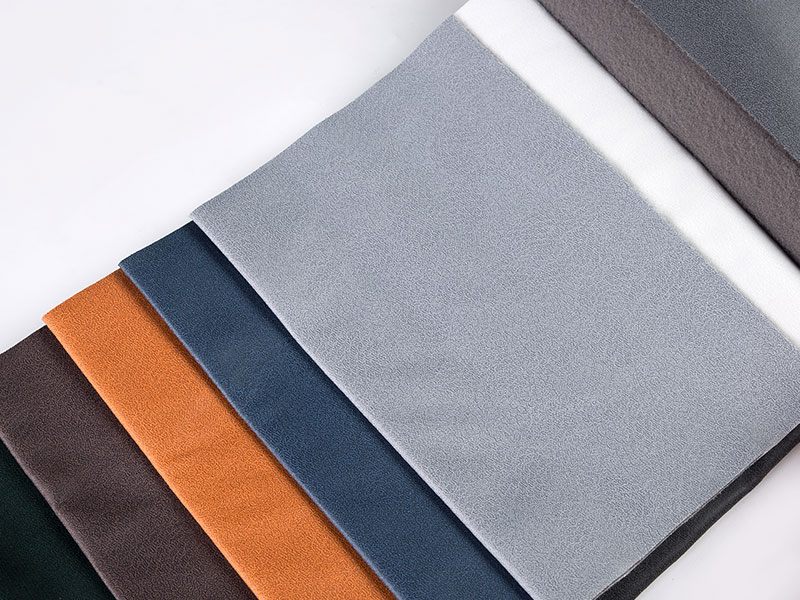
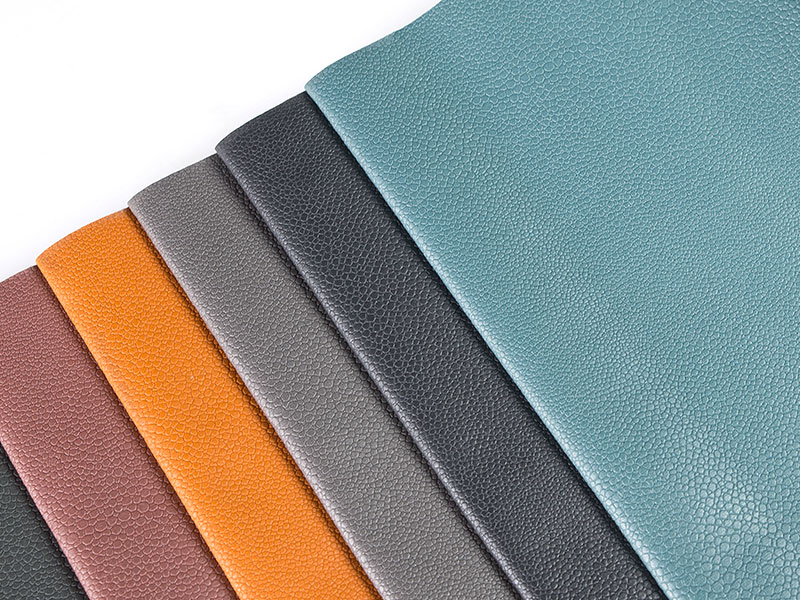
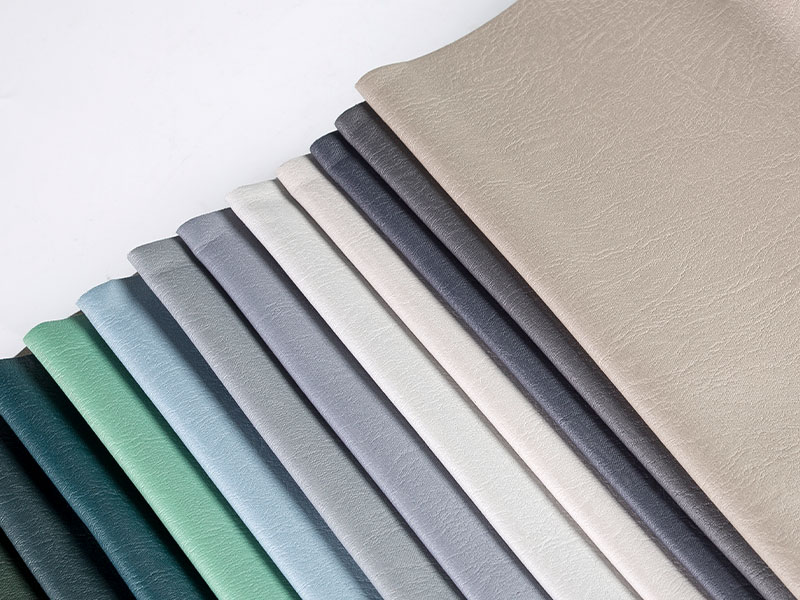
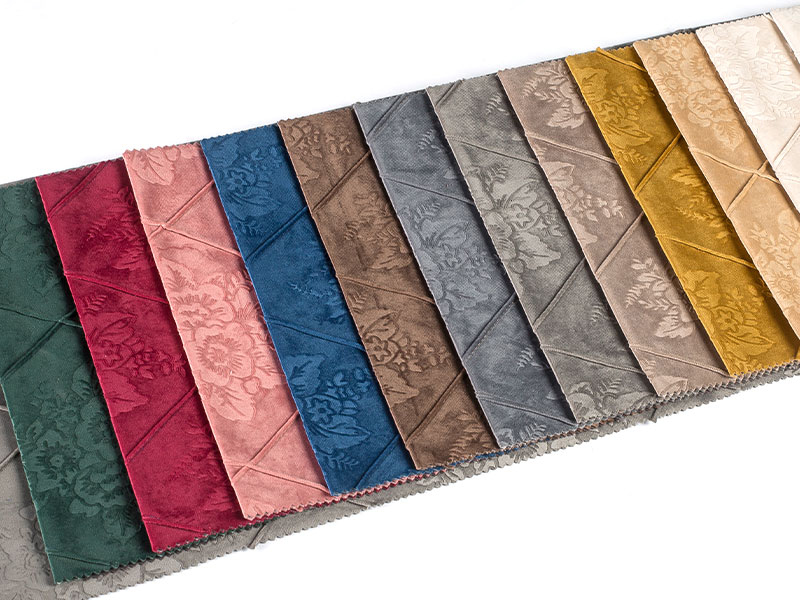
Most rolls or sheets of adhesive velvet fabric are sold in a range of thicknesses, typically between 0.5mm and 1mm, and come in dozens of colors from classic black and deep jewel tones to soft neutrals. This flexibility is one of the biggest reasons the product has grown so popular among crafters, small business owners, and homeowners tackling weekend projects.
Why People Are Switching to Adhesive Velvet Fabric
Traditional velvet upholstery requires cutting, stapling, gluing, or sewing, and any mistake often means starting over with a fresh piece of fabric. Self adhesive velvet fabric removes almost all of that friction. There is no drying time to wait through, no risk of glue seeping through the fibers and staining the surface, and no need for special tools beyond a pair of scissors and a straight edge. This makes it especially appealing to beginners who want professional-looking results on their first attempt.
- No glue, staples, or sewing machine required
- Clean, mess-free application in minutes
- Many versions are repositionable during initial placement
- Adds sound-dampening and scratch protection to hard surfaces
- Available in rolls large enough for furniture or small pre-cut sheets for boxes
Beyond convenience, the finished look is genuinely upscale. A plain wooden drawer lined with velvet fabric can look like a jewelry store display case, and a plastic storage box wrapped in a rich burgundy or navy adhesive velvet can pass for a designer accessory case.
Popular Uses for Self Adhesive Velvet Fabric
Because it adheres to so many surface types, self adhesive velvet fabric shows up in a wide range of projects, from small personal crafts to larger home and business applications.
Home and Personal Projects
- Lining jewelry boxes, watch cases, and eyeglass cases
- Covering dresser and drawer interiors
- Wrapping picture frames and decorative boards
- Refreshing coasters, small furniture accents, and headboards
Business and Display Uses
- Retail display cases and boutique packaging
- Photography backdrops for product shoots
- Trade show booths and presentation boards
- Car interior trim and storage compartment linings
How to Apply Self Adhesive Velvet Fabric Step by Step
Getting a smooth, bubble-free finish comes down to preparation as much as application. Rushing the process is the most common reason people end up with wrinkles or peeling edges.
Preparing the Surface
Start by cleaning the surface thoroughly and letting it dry completely. Any dust, grease, or moisture trapped under the adhesive will weaken the bond and can cause the fabric to lift over time. For best results, work in a room temperature environment, since adhesive backing tends to grip better when it is not too cold or humid.
Measuring and Cutting
Measure the surface carefully and add a small margin, roughly a quarter inch on each side, so you have room to trim after the fabric is applied rather than trying to cut it to a perfect fit beforehand. Adhesive velvet fabric is easy to cut with regular fabric scissors or a sharp craft knife, but cutting slightly generously reduces the risk of gaps along the edges.
Peeling and Pressing
Peel back a small section of the paper backing at a time rather than removing it all at once. Press that section into place, smoothing outward from the center toward the edges to push out air bubbles, then continue peeling and pressing in stages. Working section by section gives you much more control than trying to place a fully exposed adhesive sheet in one motion.
Finishing the Edges
Once the fabric is fully pressed down, trim any excess along the edges with a sharp blade for a clean line. Velvet fibers can fray slightly at cut edges, so many people seal the border with a thin line of clear nail polish or a fray-check solution to keep the finish looking tidy over time.
Self Adhesive Velvet Fabric vs Traditional Velvet Fabric
Choosing between adhesive-backed velvet and standard sew-in velvet depends on the project. The comparison below breaks down the practical differences.
| Factor | Self Adhesive Velvet Fabric | Traditional Velvet Fabric |
| Application Method | Peel and stick, no tools needed | Sewing, stapling, or separate glue |
| Skill Level Required | Beginner friendly | Moderate to advanced |
| Best Use Case | Boxes, liners, small furniture, crafts | Upholstery, garments, curtains |
| Removability | Often repositionable, residue-free removal | Permanent once sewn or stapled |
| Durability on Heavy Wear Surfaces | Moderate | Higher, especially with proper backing |
How to Choose the Right Adhesive Velvet Fabric
Not every roll of self adhesive velvet fabric is built the same way, so it helps to compare a few key specifications before buying.
- Adhesive strength: look for descriptions that mention strong, long-lasting bonding with minimal residue if removed
- Pile height and thickness: thicker pile feels more luxurious and offers better cushioning for delicate items like jewelry
- Size and roll length: match the roll dimensions to your project so you are not left piecing together scraps
- Surface compatibility: confirm the product works with your intended surface, whether wood, glass, metal, or fabric
- Color consistency: order slightly more than needed, since dye lots can vary slightly between production batches
Common Mistakes to Avoid
Even though self adhesive velvet fabric is designed to be simple, a few avoidable errors account for most disappointing results. Applying it to a dusty or damp surface is the single biggest cause of early lifting or bubbling. Pulling off the entire backing sheet at once, rather than peeling gradually while pressing, often leads to trapped air pockets that are hard to smooth out afterward. Using it on heavily textured or curved surfaces without accounting for the fabric's limited stretch can also cause wrinkling, since most adhesive velvet is best suited to flat or gently curved areas. Finally, skipping edge sealing on cut borders can leave the velvet looking frayed within a few weeks of regular handling.
Caring for Surfaces Covered in Self Adhesive Velvet Fabric
Once applied, adhesive velvet fabric holds up well with light, routine care. Dust and light debris can usually be lifted with a soft brush or a low-suction vacuum attachment, since scrubbing can crush the pile and leave flattened patches. Avoid soaking the fabric with liquid cleaners, as excess moisture can weaken the adhesive layer underneath and cause peeling at the edges. If a section becomes stained or worn, it can typically be trimmed away and patched with a fresh piece cut from the same roll, which is one of the practical advantages of choosing a peel-and-stick material over a fully sewn upholstery job.